
Option 1 : UxStyle
Install the UxStyle software developed by Rafael Rivera. The main benefit of this app is that it keeps system files untouched on disk and works transparently in memory.
Just follow the instructions in the installation wizard.
DOWNLOAD
Option 2: Skin Pack Auto UXThemePatcher
Download and install Skin Pack Auto UXThemePatcher.
- Run the downloaded file. You may get Smart-screen warning.
- Click the “More Info” link and then choose Run Anyway.
- Click “Yes” if you get UAC confirmation prompt. Accept the license agreement.
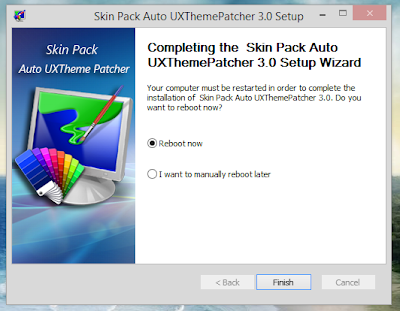
- Finish the installation and reboot your PC.
- Once you are finished, copy your theme folder (containing a .theme file and a folder containing .msstyles file) to “Windows\Resources\Themes” folder (directory on system drive where Windows is installed. Usually it is the C: drive).
- Now double-click on .theme file and it’ll apply the theme or you can apply it using Personalization control panel.


0 comments:
Post a Comment